
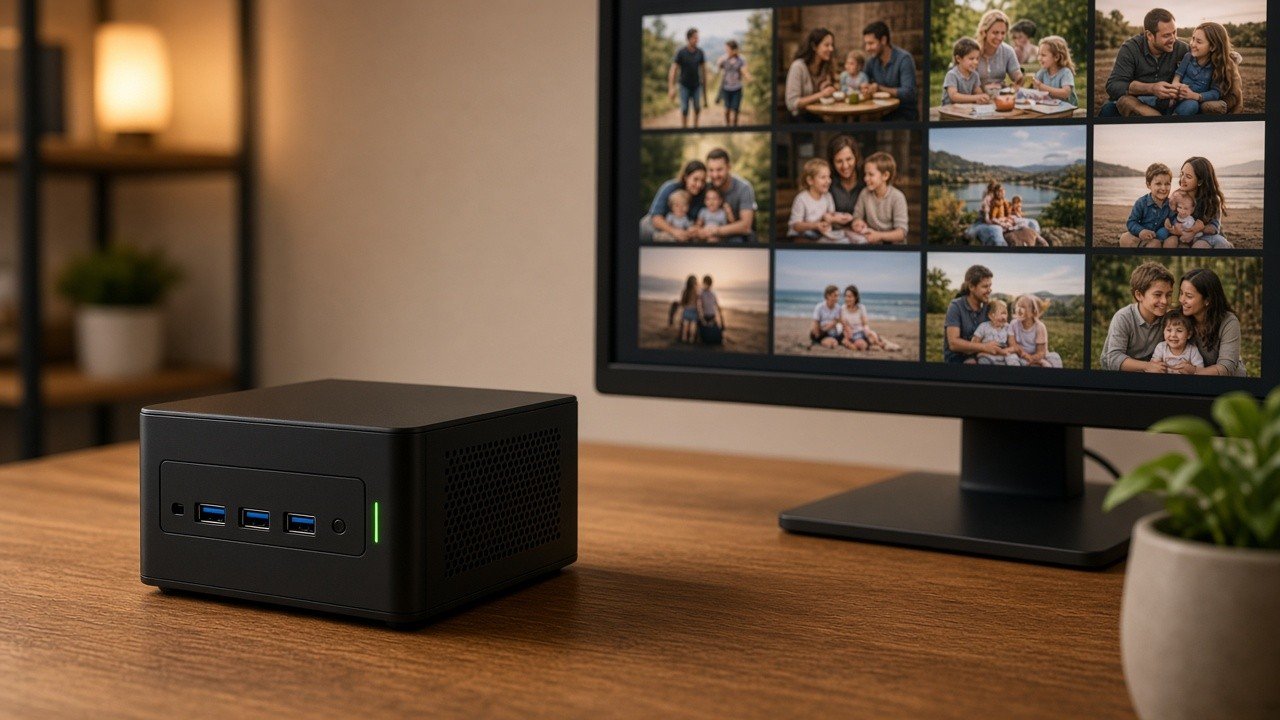
Immich is a free, open-source photo and video management platform that you run on your own hardware. It offers many of the conveniences people expect from Google Photos, including automatic phone backup, timeline browsing, albums, sharing, and machine-learning search, while keeping every file under your control.
Setting it up requires a spare PC, mini PC, or NAS, Docker, and some patience with a configuration file. Once running, it turns storage from a recurring subscription into a one-time hardware decision, as long as you pair it with a proper backup plan.
Most of us carry years of memories on our phones, and cloud storage quotas fill up faster than we expect. Paying every month for more space works, but it also means your family photos live on someone else’s servers, governed by someone else’s terms. If you already run Docker or have an old laptop gathering dust, self-hosting your photo library is one of the most satisfying home projects you can take on in 2026.
This guide walks through what Immich is, what you need, and how to get it running without turning it into a weekend-long ordeal.
What Immich Actually Does
Immich is designed to feel familiar. Its mobile apps for Android and iOS can back up photos and videos automatically in the background, and its web interface presents everything as a scrollable timeline.
Key features include:
- Automatic background backup from phones
- Albums, favourites, and shared links
- Face recognition and object-based search (“beach”, “dog”, “car”)
- Map view using photo location data
- Multi-user support for families
The project moves quickly, with frequent releases. That is good for features, but it means you should read release notes before updating.
What You Need Before You Start
You do not need a data-centre rack. A modest machine is enough for a household library.
- A PC, mini PC, or NAS that can stay powered on
- At least 4 GB of RAM (more helps the machine-learning features)
- Enough disk space for your library, plus room to grow
- Docker and Docker Compose installed
- A home network, and optionally a way to reach it remotely
If you followed my earlier guide on installing Docker on Windows 11, you already have the foundation. Linux remains the smoother host for an always-on server, though.
1. Prepare a Folder and Download the Compose Files
Create a dedicated folder, for example immich-app, on the drive where your photos will live. The official Immich documentation provides a docker-compose.yml and an example .env file. Download both from the official site or GitHub repository rather than copying them from random blogs, because the recommended settings change between versions.
2. Edit the Environment File
The .env file controls where uploads are stored and how the database is configured. The two settings that matter most are:
- UPLOAD_LOCATION: the folder that will hold your original photos and videos
- DB_PASSWORD: change this from the default to something unique
Keep the upload location on a large, reliable drive. Avoid external USB drives that might disconnect during sleep.
3. Start the Containers
Open a terminal in the folder and run:
docker compose up -d
Docker will download several images: the server, the machine-learning service, a database, and a cache. The first start can take a few minutes. When it finishes, open a browser and visit http://<your-server-ip>:2283.
4. Create the Admin Account and Connect Your Phone
The first account you create becomes the administrator. Add accounts for family members from the admin settings so each person gets a private library.
Then install the Immich app on your phone, enter the server address, log in, and choose which albums to back up. Let the initial upload run overnight on Wi-Fi and a charger; large libraries take time.
5. Import Your Existing Library
If you already have photos from Google Takeout or old hard drives, Immich supports bulk imports through its command-line tool and an “external library” feature that indexes folders without moving them. Google Takeout exports store some metadata in separate JSON files, so community tools that merge that data back are worth looking into before import.
Remote Access Without Opening Your Network
Viewing photos at home is easy; viewing them on the road needs care. Avoid exposing the Immich port directly to the internet. Safer options include:
- A personal VPN such as WireGuard (see my WireGuard on Windows 11 guide)
- A mesh VPN service like Tailscale
- A reverse proxy with HTTPS, if you are comfortable maintaining one
Common Beginner Mistakes
- Treating Immich as a backup. It is a photo library. If the disk dies, so do your photos unless you back them up elsewhere.
- Updating blindly. Read release notes; breaking changes do happen.
- Skipping the database. Back up the database as well as the photo folder, or you lose albums, faces, and metadata.
- Underpowered storage. Cheap drives fail. Use something reliable and monitor it.
Putting It Together
Self-hosting with Immich trades a monthly bill for a bit of setup and ongoing responsibility. Prepare a machine, download the official Compose files, set your storage path and password, start the containers, and connect your phone. Then apply the 3-2-1 backup idea so your library survives a failed drive.
Start small: back up one phone for a month, get comfortable with updates and restores, and then bring the rest of the family on board. Your memories are worth owning outright.