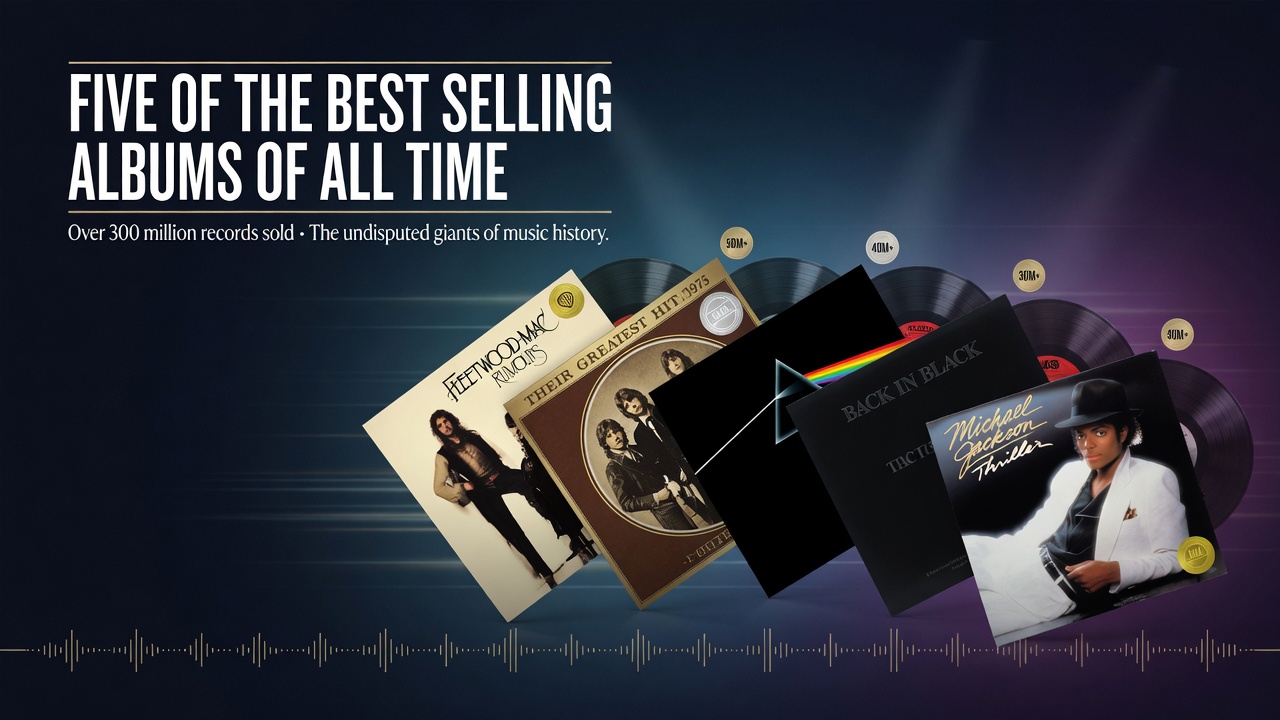
Five of the Best Selling Albums of All Time
Discovering the best selling albums of all time offers a fascinating glimpse into music history and global cultural impact. These records have not only shattered sales records but also defined eras, influenced generations, and transcended genres. From pop anthems to rock classics, the top-selling albums continue to resonate with listeners worldwide. In this article, we explore five legendary releases that have sold tens of millions of copies, examining their sales figures, iconic tracks, and lasting legacies.
1. Michael Jackson – Thriller (1982)
With estimated sales exceeding 66 million copies, Michael Jackson’s Thriller stands as the undisputed champion among the best selling albums of all time. Released at the height of the MTV era, the album revolutionized pop music through its blend of funk, rock, and soul. The title track and hits like “Billie Jean” and “Beat It” dominated charts globally, while the groundbreaking music videos elevated the album to a multimedia phenomenon.
Jackson’s innovative choreography and storytelling turned Thriller into a cultural milestone. The album earned eight Grammy Awards and remains a benchmark for artistic ambition in popular music. Its enduring appeal is evident in streaming numbers and anniversary reissues that continue to attract new fans decades later.
2. AC/DC – Back in Black (1980)
AC/DC’s Back in Black has sold more than 50 million copies, making it one of the highest-selling rock albums ever. Released as a tribute to the band’s late singer Bon Scott, the record introduced Brian Johnson’s distinctive vocals on tracks like “Hells Bells” and the anthemic title song. Its raw energy and riff-driven sound captured the spirit of hard rock at its peak.
- Signature guitar riffs that influenced countless bands
- Over 25 million copies sold in the United States alone
- Consistent presence on classic rock radio playlists
The album’s straightforward production and timeless hooks have ensured its place in the pantheon of best selling albums of all time. It remains a staple for rock enthusiasts and a testament to the band’s resilience.
3. Pink Floyd – The Dark Side of the Moon (1973)
Pink Floyd’s masterpiece has moved over 45 million units worldwide, securing its status among the best selling albums of all time. Exploring themes of mental health, time, and mortality, the album features seamless transitions and innovative sound effects that created an immersive listening experience. Tracks such as “Money” and “Us and Them” became radio staples, while the iconic prism artwork became instantly recognizable.
Its conceptual depth and sonic experimentation set new standards for progressive rock. The record spent an unprecedented 937 weeks on the Billboard 200, demonstrating its remarkable longevity and continued relevance to successive generations of listeners.
4. Whitney Houston – The Bodyguard Soundtrack (1992)
The soundtrack to The Bodyguard has sold approximately 45 million copies, driven largely by Whitney Houston’s powerhouse performance of “I Will Always Love You.” This ballad became one of the best-selling singles in history and propelled the album to the top of charts across multiple continents. The collection also included contributions from other artists, but Houston’s vocals defined its emotional core.
As one of the best selling albums of all time, it showcased the crossover power of R&B and pop ballads. The record earned multiple Grammy Awards and solidified Houston’s legacy as one of the greatest vocalists of her generation.
5. Eagles – Their Greatest Hits (1971–1975) (1976)
Released as a compilation, the Eagles’ Their Greatest Hits (1971–1975) has sold more than 42 million copies, making it the best-selling album in United States history. Featuring timeless tracks like “Hotel California,” “Take It Easy,” and “Desperado,” the collection captured the essence of 1970s soft rock and country-rock fusion.
Its accessibility and radio-friendly sound helped it reach audiences far beyond traditional rock fans. The album’s commercial dominance highlights the enduring popularity of the Eagles’ catalog and its place among the best selling albums of all time.
Why These Albums Endure
These five records share common traits: exceptional songwriting, cultural timing, and broad appeal that crosses demographics. They transformed the music industry by proving that albums could become global events. Whether through groundbreaking videos, conceptual innovation, or unforgettable vocals, each release left an indelible mark on popular culture.
Today, streaming services have made these classics more accessible than ever, introducing them to younger audiences while longtime fans continue to celebrate their anniversaries. Their sales figures may never be matched in the physical era, yet their influence persists through covers, samples, and tributes.
In summary, the best selling albums of all time represent more than commercial success—they embody moments when music connected deeply with the world. From Michael Jackson’s dance-floor mastery to the Eagles’ heartfelt harmonies, these albums continue to inspire and entertain across decades.