History of the Olympic Games: From Ancient Greece to the Modern Era
The history of the Olympic Games spans more than 2,700 years, transforming from a religious festival in ancient Greece into the world’s premier international sporting event. What began as a tribute to Zeus has evolved into a global spectacle that unites athletes from over 200 nations every four years. This rich timeline reveals how the Games have mirrored humanity’s triumphs, conflicts, and aspirations.
The Ancient Olympic Games: Birth of a Tradition
According to legend, the first Olympic Games took place in 776 BC in Olympia, Greece. Dedicated to Zeus, the king of the gods, these early competitions served both athletic and spiritual purposes. Historians believe the Games originated as a way to honor the gods and promote peace among warring city-states through a sacred truce called the ekecheiria.
Only free Greek males could compete, and events were limited at first. The inaugural contest was a simple footrace—the stadion—covering roughly 192 meters. Over centuries, organizers added chariot racing, wrestling, boxing, and the grueling pentathlon. Victors received olive wreaths rather than medals, yet their fame often lasted lifetimes. Women were barred from competing, though they could own horses in the chariot races.
By the 5th century BC, the Games reached their peak popularity, drawing up to 40,000 spectators. The ancient Olympics continued for nearly 1,200 years until Roman Emperor Theodosius I banned them in 393 AD, viewing the pagan rituals as incompatible with Christianity.
The Long Hiatus and 19th-Century Revival
For 1,500 years, organized Olympic-style competitions largely disappeared. Occasional local festivals kept the spirit alive, but the Games as a unified event faded. In the late 1800s, French educator Baron Pierre de Coubertin became obsessed with reviving the ancient tradition. He believed sport could foster international understanding and moral development.
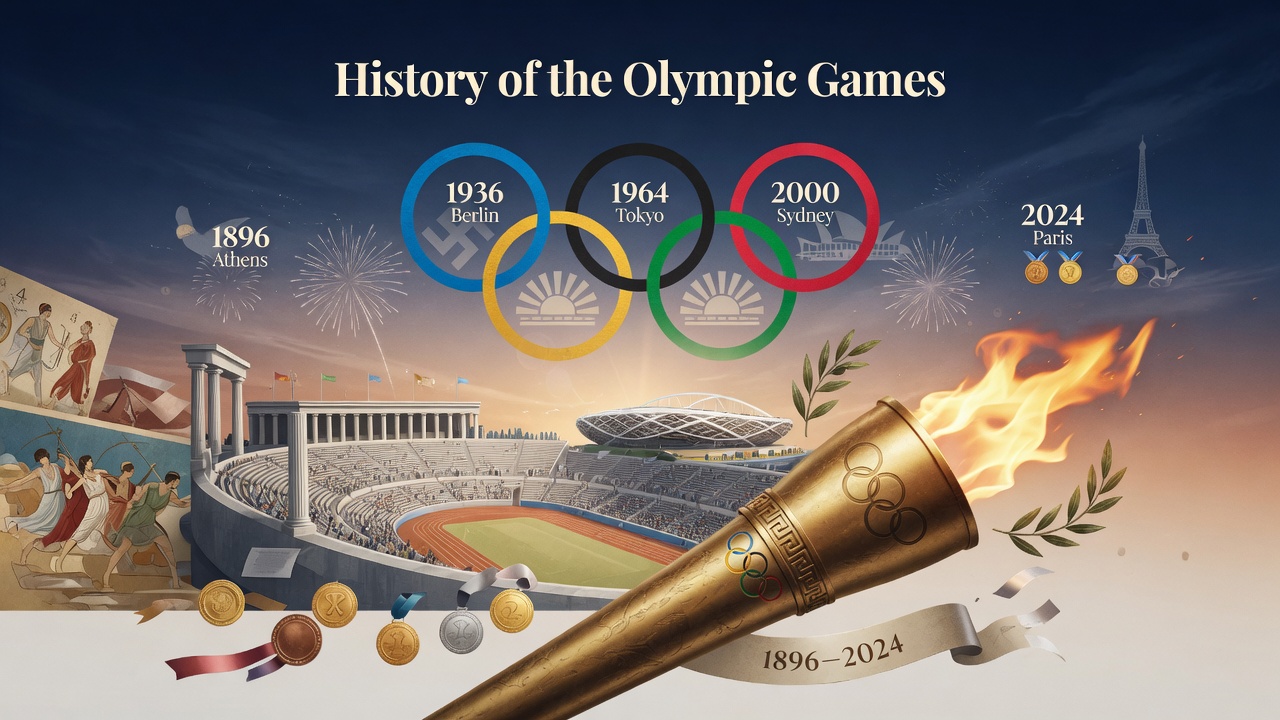
Coubertin’s vision materialized at the 1894 Sorbonne Congress in Paris. Delegates voted to reestablish the Olympics, scheduling the first modern Games for Athens in 1896. Thirteen nations sent 241 athletes to compete in 43 events. The revival succeeded beyond expectations, igniting worldwide interest despite modest facilities and organizational hiccups.
Key Milestones in the Modern Olympic Movement
The modern era brought rapid expansion and structural changes:
- 1900 Paris Games: Women competed for the first time, though in limited events like tennis and golf.
- 1924 Chamonix: The first Winter Olympics introduced skiing, skating, and bobsledding as separate competitions.
- 1936 Berlin: Jesse Owens’ four gold medals challenged Nazi racial ideology in one of history’s most politically charged Olympics.
- 1960 Rome: Television coverage began transforming the Games into a global media phenomenon.
- 1980 Moscow & 1984 Los Angeles: Cold War boycotts highlighted the intersection of sport and geopolitics.
Additional milestones include the introduction of the Paralympics in 1960, the addition of the Youth Olympic Games in 2010, and the steady growth of women’s events, which now comprise nearly half of all competitions.
Iconic Moments, Controversies, and Cultural Impact
The Olympics have produced unforgettable drama. Nadia Com?neci’s perfect 10 in 1976, Michael Phelps’ record eight gold medals in 2008, and Usain Bolt’s lightning sprints redefined human limits. Yet controversies have also marked the Games. The 1972 Munich attack, systematic doping scandals in the 2000s, and debates over host-city spending continue to spark discussion.
Despite setbacks, the Olympics consistently drive social change. They accelerated gender equality, promoted disability inclusion, and forced nations to confront issues of race and politics on an international stage.
The Olympics Today and Into the Future
Today’s Olympic Games balance tradition with innovation. The International Olympic Committee emphasizes sustainability, athlete welfare, and digital engagement. The 2020 Tokyo Games (held in 2021) introduced new sports like skateboarding and surfing while navigating a global pandemic.
Looking ahead, the 2024 Paris Olympics promise gender parity and ambitious climate goals. Future hosts must now demonstrate environmental responsibility and long-term community benefits, reflecting how the ancient ideal of harmony has adapted to 21st-century challenges.
Conclusion: An Enduring Legacy
From olive wreaths in Olympia to billion-viewer broadcasts, the history of the Olympic Games demonstrates remarkable resilience. The core values—excellence, friendship, and respect—remain constant even as the event evolves. Whether you follow track and field, gymnastics, or winter sports, the Olympics continue to remind us that sport can transcend borders and inspire generations. As the flame is passed from one host city to the next, the story of the Games is far from over.